


When it comes to innovative home decor ideas, it doesn’t get much more unique than installing a sink in a bed frame. This project is not for the faint of heart, but it can be a rewarding and impressive addition to any home. In this article, we will guide you through the steps of installing a sink in a bed frame, from selecting materials to testing for leaks.
Materials and Tools You Will Need
The first step in installing a sink in a bed frame is gathering all the necessary materials and tools. You will need a bed frame, a sink, a faucet, a drain, a P-trap, a jigsaw or circular saw, a drill with an adjustable wrench, and plumbers putty. We also recommend having someone assist you during the installation process.
It is important to note that the size and shape of the sink and bed frame should be compatible. Measure the dimensions of both the sink and bed frame before purchasing any materials to ensure a proper fit. Additionally, make sure to turn off the water supply before beginning the installation process to avoid any potential leaks or water damage.
Measuring and Planning the Installation
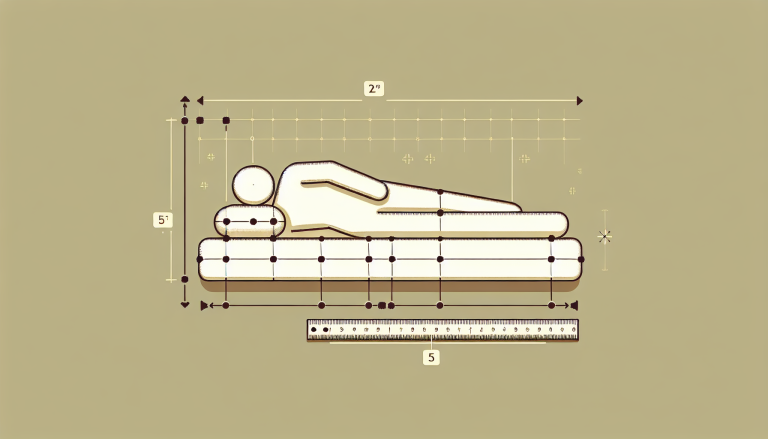
Before you begin the installation process, it’s important to measure the bed frame and sink to ensure a proper fit. Measure the length, width, and height of the sink and bed frame, taking into account the space needed for drawers and other storage options beneath the bed frame. Plan out the location of the sink in the bed frame, including the placement of the faucet and drain.
It’s also important to consider the plumbing and electrical requirements for the sink installation. Make sure you have access to the necessary plumbing and electrical connections, or plan to have them installed by a professional. Additionally, consider the weight of the sink and bed frame, and make sure the floor can support the weight.
Another factor to consider is the style and design of the sink and bed frame. Choose a sink and bed frame that complement each other and fit the overall aesthetic of the room. You may also want to consider adding additional features, such as a mirror or lighting, to enhance the functionality and style of the installation.
Preparing the Bed Frame for the Sink
With a planned location for the sink in the bed frame, the next step is to prepare the bed frame for the sink. Remove any drawers or storage options that may be in the way. Place the sink upside down on the bed frame in the desired location, and trace the outline of the sink onto the bed frame with a pencil or marker. Using a saw, carefully cut out the traced area. Sand any rough edges with sandpaper to smooth the edges down.
Once the sink hole has been cut out, it’s important to ensure that the bed frame is properly sealed to prevent any water damage. Apply a layer of silicone caulk around the edges of the sink hole, and allow it to dry completely before installing the sink. This will create a waterproof barrier and prevent any water from seeping into the bed frame.
Additionally, if the bed frame is made of wood, it’s important to treat it with a waterproof sealant to further protect it from water damage. This will help to extend the life of the bed frame and prevent any potential rot or decay caused by exposure to moisture.
Cutting the Hole for the Sink
Next, it’s time to cut the hole in the bed frame for the sink to be installed. Place the sink upside down on the bed frame in the cutout area, and mark the location of the drain and faucet holes on the bed frame. Using a jigsaw or circular saw, carefully cut out the holes in the bed frame to match the location of the sink’s drain and faucet holes.
It’s important to measure and double-check the placement of the sink before cutting the hole in the bed frame. Once the hole is cut, it cannot be undone. Additionally, make sure to wear protective eyewear and gloves while cutting to avoid any injuries. After the hole is cut, sand the edges of the bed frame to smooth out any rough edges and ensure a proper fit for the sink.
Installing the Sink Drain and P-Trap
With the hole cut out for the sink and its drain location marked, it’s time to install the sink drain and P-trap. Apply plumbers putty to the underside of the sink’s drain flange and tighten it into place onto the sink. Insert the P-trap into the drain line and onto the sink’s drain flange, tightening the connections with an adjustable wrench as necessary.
It’s important to ensure that the P-trap is installed correctly to prevent any leaks. Make sure that the P-trap is level and that the connections are tight. Once the P-trap is installed, run water through the sink to check for any leaks. If there are any leaks, tighten the connections as necessary. It’s also a good idea to periodically check the P-trap for any clogs or buildup and clean it out as needed.
Securing the Sink to the Bed Frame
Once the sink drain and P-trap are installed, the sink needs to be secured to the bed frame. Apply a bead of caulking around the underside of the sink’s rim, and carefully lower the sink into the cutout area in the bed frame. Press the sink down firmly onto the bed frame to create a seal between the sink’s rim and bed frame.
It is important to ensure that the sink is level and flush with the bed frame before securing it in place. Use a level to check that the sink is not tilted in any direction, and adjust as necessary. Once the sink is level, use screws or brackets to secure the sink to the bed frame. This will prevent the sink from shifting or becoming loose over time.
Connecting Water Supply Lines to the Sink
At this point, it’s time to connect the water supply lines to the sink faucet. Connect one end of a flexible water supply line to the faucet and the other end to the main water supply line. Tighten the connections between the two lines with an adjustable wrench as necessary.
It’s important to ensure that the water supply lines are properly connected and tightened to prevent any leaks. You can use Teflon tape on the threads of the connections to create a tighter seal and prevent any water from leaking out.
Before turning on the water supply, make sure to check all connections for any leaks. If you notice any leaks, turn off the water supply and tighten the connections further. Once you’re confident that everything is properly connected and tightened, turn on the water supply and test the faucet to ensure that water is flowing properly.
Testing for Leaks and Making Corrections
Once the sink is properly installed and the water supply lines are connected, it’s time to test the sink for leaks. Turn on the water supply lines and let the sink run for a few minutes. Check for any leaks around the sink, faucet, or water supply lines. If leaks are present, make corrections as necessary to create a watertight seal.
It’s important to note that leaks can occur even after the initial installation. Over time, the sink and its components may shift or wear down, causing leaks to develop. It’s a good idea to periodically check for leaks and make any necessary corrections to prevent water damage and ensure the longevity of your sink.
Finishing Touches: Caulking, Sealing, and Cleaning Up
After all leaks have been identified and corrected, it’s time for the finishing touches. Apply a bead of caulking around the edges of the sink to create a waterproof seal. Seal any gaps between the sink and bed frame with silicone caulk. Finally, clean up any debris or tools used during the installation process.
It’s important to note that different types of caulking and sealants may be required depending on the materials used in the sink and bed frame. Be sure to read the manufacturer’s instructions and choose the appropriate products for your specific installation. Additionally, take care when cleaning up to avoid damaging any surrounding surfaces or fixtures. Use a gentle cleaner and a soft cloth to wipe down the area and leave it looking clean and polished.
Tips for Maintaining a Sink in a Bed Frame
Regular maintenance is key to keeping a sink in a bed frame functioning properly. Clean the sink regularly to prevent build-up of debris and residue. Check for leaks or damage frequently, and make repairs as necessary. Be cautious when moving the bed frame, taking care not to damage the sink or water supply lines.
Another important tip for maintaining a sink in a bed frame is to avoid using harsh chemicals or abrasive materials when cleaning it. These can damage the sink’s surface and cause scratches or discoloration. Instead, use gentle cleaners and a soft cloth to wipe down the sink.
If you notice any unusual odors coming from the sink, it may be a sign of a clog or other plumbing issue. In this case, it’s best to call a professional plumber to assess the problem and make any necessary repairs. Ignoring plumbing issues can lead to more serious damage and costly repairs down the line.
Creative Uses for a Sink in a Bed Frame
Aside from being a functional installation, a sink in a bed frame can also be an impressive piece of home decor. Consider using the sink as a planter or as a unique water feature. Be creative and have fun with this unconventional addition to your home!
Another creative use for a sink in a bed frame is to turn it into a mini bar. You can install a small refrigerator underneath the sink and stock it with your favorite drinks. Add some bar stools and you have a unique and stylish addition to your home entertainment area.
If you’re feeling adventurous, you can also turn the sink into a fish tank. With some waterproofing and a custom-made glass top, you can create a stunning underwater world right in your bedroom. Just make sure to choose fish that are appropriate for the size of the sink and that you have the necessary equipment to maintain a healthy environment for them.